Zoho Books
14 min
INTRODUCTION:
This document describes how User can create an Account in Zoho Books software and get Keys and credentials to connect to MYFUNDBOX product.
STEPS:
Step 1: Create an Zoho Books Developer Account
- Visit Zoho Books Api Console
- Click Sign Up or Create an account
Step 2: If already having an account, sign in.
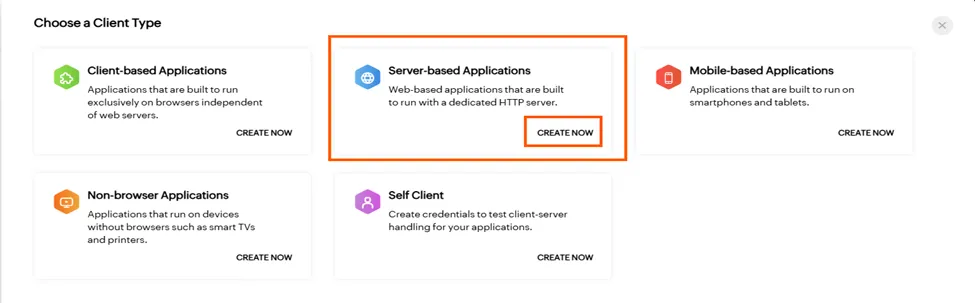
Step 3: Add client and create Server-based application.
Click the "create now" button (as shown in the figure Fig 1.0).
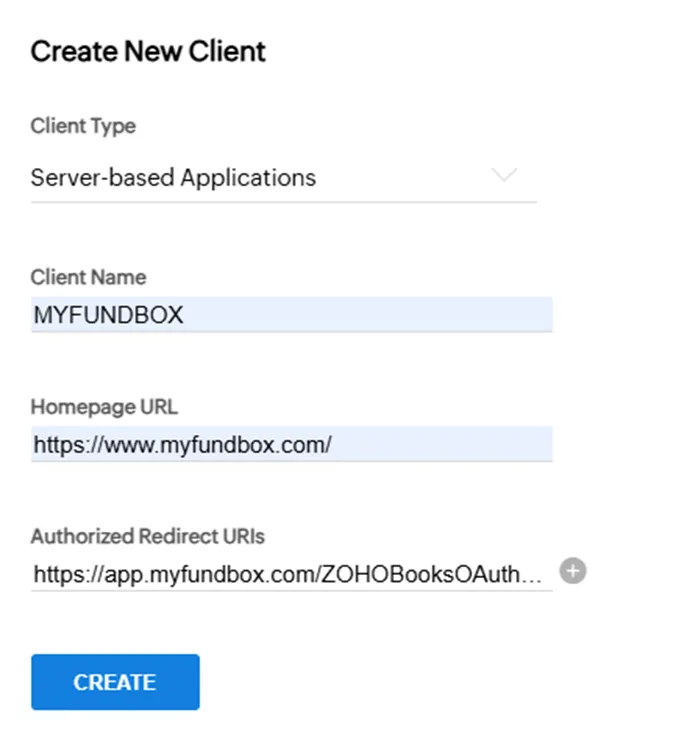
Step 4: Fill in the necessary details and add the Redirect URIs.
- Fill in the necessary details and navigate to Redirect URIs, then add the following URIs (as shown in Figure 1.1) and click create.
https://app.myfundbox.com/ZOHOBooksOAuthResponse.jsf
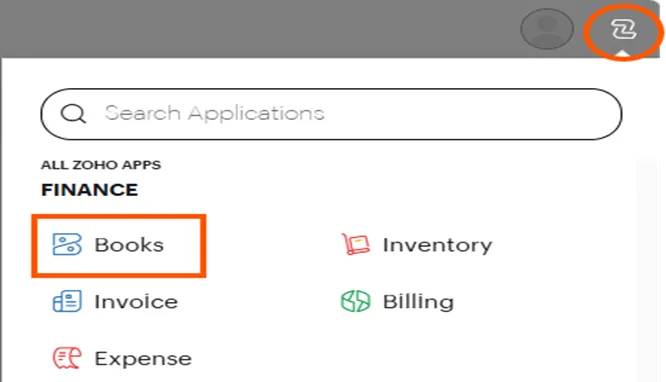
Step 5: Click the profile and navigate to your account.
- Click your profile and click your account; you are redirected to your Zoho Account.
- Click the "more" option that is next to your profile and navigate to finance and click Books; it will redirect to your Zoho Books account.
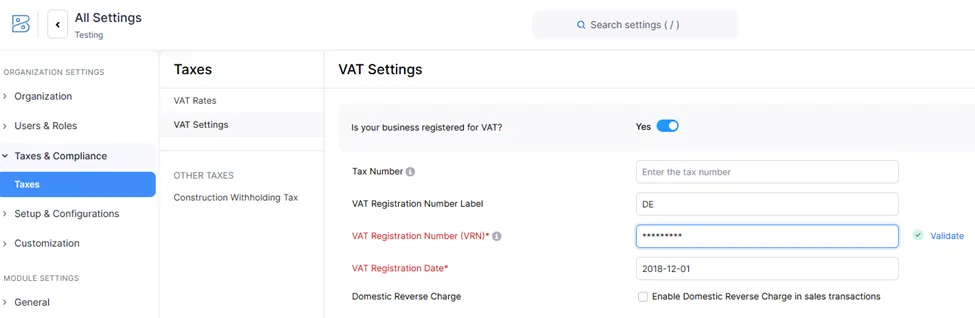
Step 6: Enable VAT Setting (Mandate to use Tax)
- In your Books Account go to settings and navigate to tax enter your VAT details and enable it (as shown in Figure 1.3).
Step 7: Enable Toggle in Settings (Mandatory)
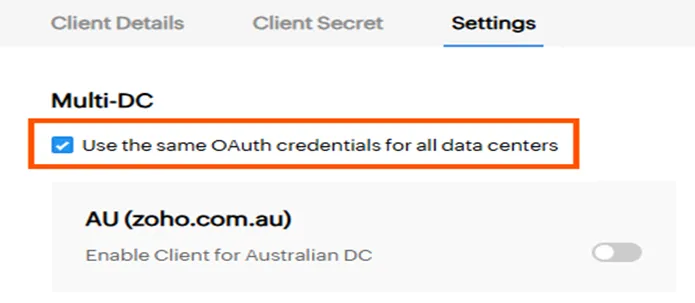
- Enable the toggle for the Data center to achieve connection; it is mandated.
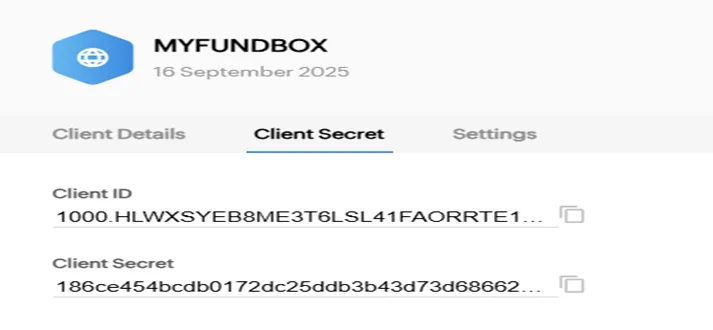
Step 8: Collect Keys & Credentials (Client ID & Client Secret)
- Navigate to Client Secret next to the Client Details (as shown in Figure 1.5) copy those keys.
Step 9: Connect Zoho Books in MYFUNDBOX
- Sign in to MYFUNDBOX.
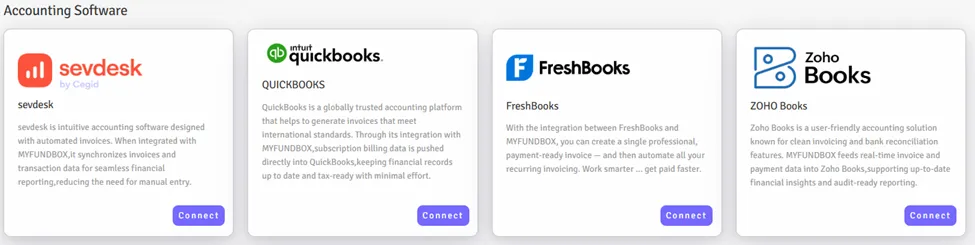
- Navigate to Configuration → Integrations → Zoho Books → click the Connect button (as shown in Figure 1.6).
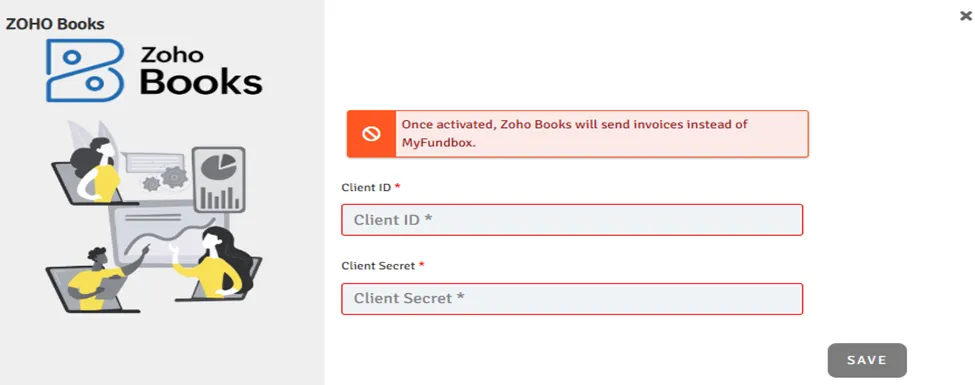
- A pop-up will open. Enter the Client ID and Client Secret, then click Save (as shown in Figure 1.7).
| |
|---|---|
| |
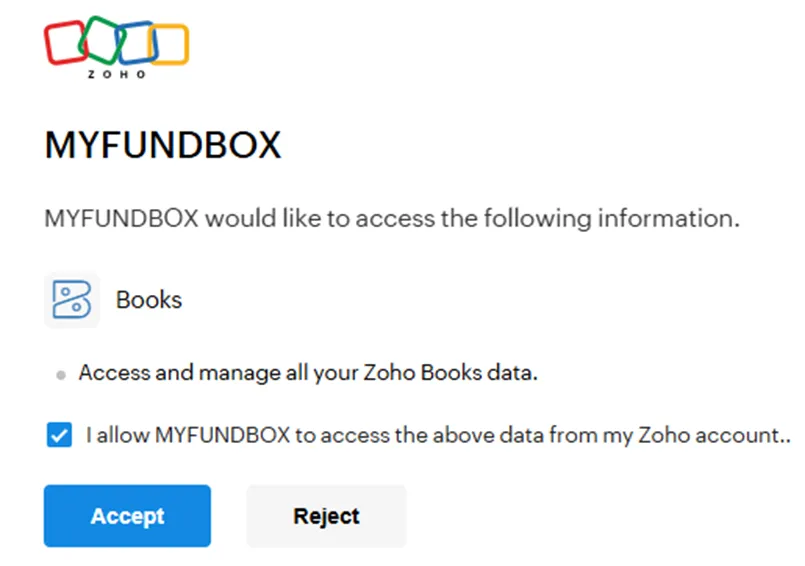
- You will be redirected to Zoho Books to connect your account.
- Click the allow access toggle and click accept button to establish the connection (as shown in Figure 1.8).
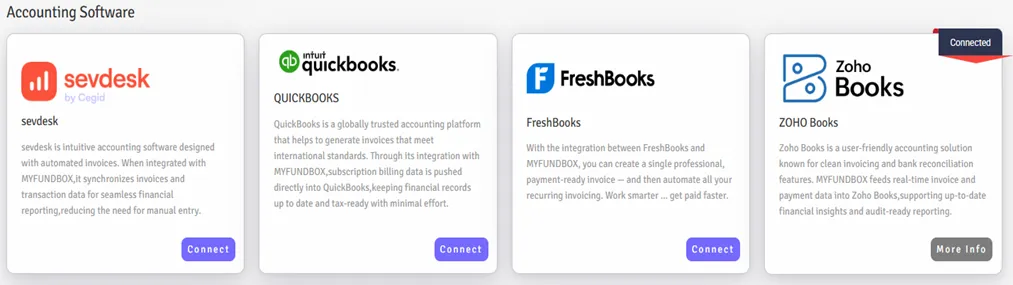
- After a successful connection, you will see Connected in the Zoho Books module of your MYFUNDBOX account (as shown in Figure 1.9).
Step 10: To Enable / Disable / Delete Connections
10.1 For Enable / Disable Connections
- In Manage Zoho Books, you can enable or disable the Zoho Books connection by clicking the toggle button (as shown in Figure 1.10). by clicking more info button (as shown in Figure 1.9).
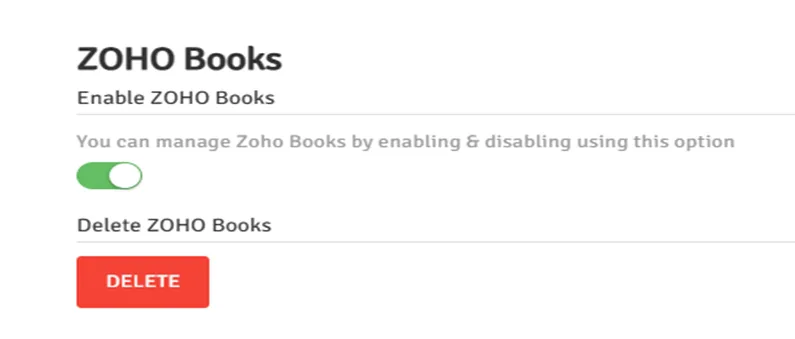
- This only enables or disables the connection; it does not fully disconnect it
10.2 For Delete Connections
- If you want to delete or disconnect the Zoho Books account, click the Delete button and then click Yes, delete it (as shown in Figure 1.10).
- Your connection will be revoked.
- If you disconnect the connection, you will lose all Zoho Books connection credentials from MYFUNDBOX.
- To reconnect, you will need to follow the process starting from Step 5.
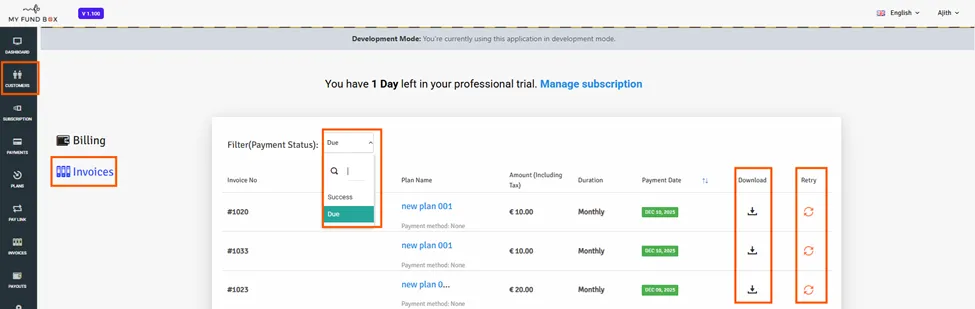
Download Due Invoice
- If you connect to Zoho Books and create a pay link, the due invoice will be generated automatically. You can then download the due invoice from the Customer/Donor Portal by using the Due filter also you can use the retry option to pay.